No products in the cart.
- March 15, 2022
- How To
- By Aqalili Azizan
How to Do a Patch Test at Home According to a Malaysian Dermatologist
Should I use new skincare products straight away?
Table of Contents
The excitement of receiving a box of skincare products is priceless. I know, I know, as a beauty lover who has followed trends really closely, trying out new skincare products is like opening a birthday gift.
But, although it may be tempting to start using your new product all over your face, it’s important to do a patch test on a small patch of your body. This will let you know if the product is really suitable for your skin, and can prevent any avoidable damage to your skin.
With our favourite Malaysian Dermatology, Dr Lim Ing Kien (better known as Dr Ingky), let’s learn how to do a patch test.
What is a Patch Test?
“No matter what your skin type is, you need to do a patch test,” says Dr Ingky.
Even if you don’t have sensitive skin, specific ingredients or formulations can irritate even normal skin types. Once in contact with your skin, you can get red and angry rashes, dry, itchy or flaky skin. It can go down to ingredients like coconut oil that will break your skin from clogging the pores.
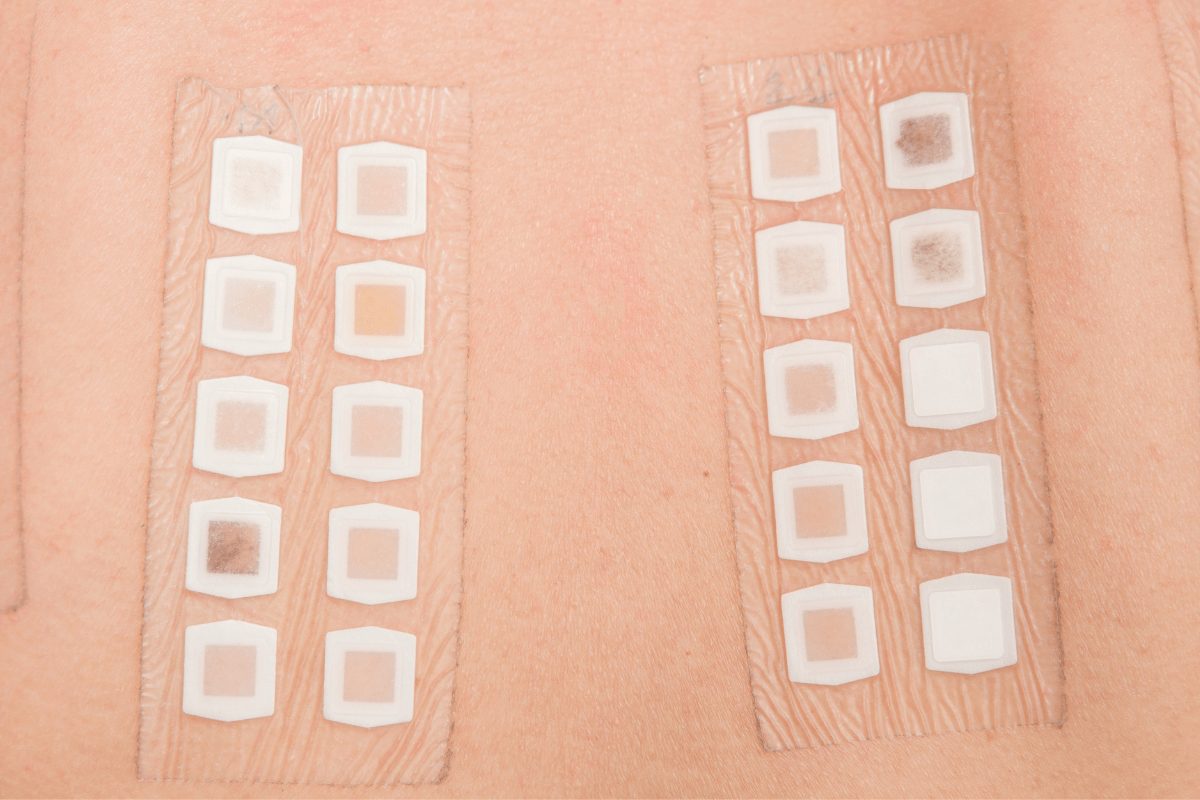
A skin patch test is the gold standard method in diagnosing a contact allergy. It can be done at home or in a clinic to determine which specific substances causes an allergic reaction on a patient’s skin. This reaction is called allergic contact dermatitis.
If you want to analyse skincare ingredients first. Here are five websites that can help you with that!
The Right Way to do a Patch Test
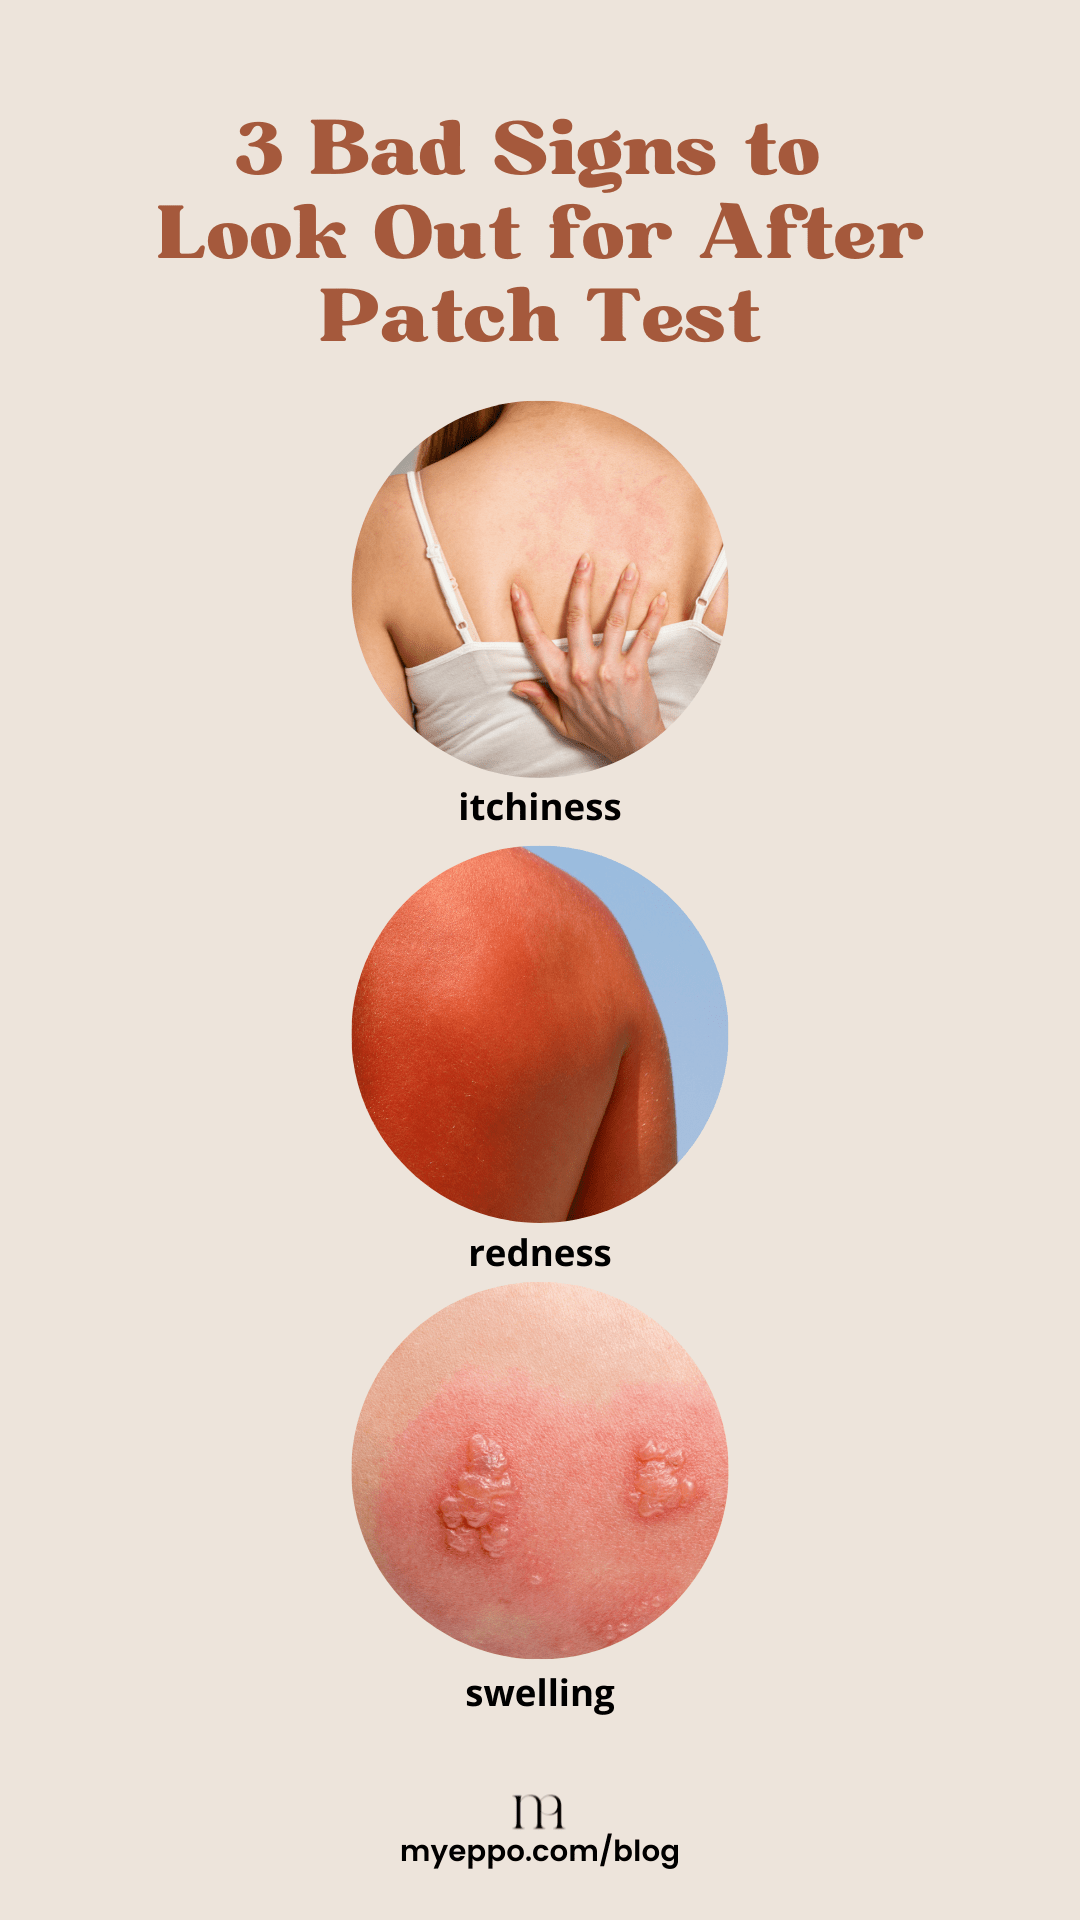
According to Dr Inkgy: “The most effective way is the medical patch test done by a dermatologist. Patch tests don’t use needles. Instead, allergens are applied to patches placed on your skin. During a patch test, your skin may be exposed to 20 to 30 extracts of substances that can cause contact dermatitis. You normally need to wait at least 24 hours to see the side effects of a patch test – and in some cases, it’ll be 48 hours. After the allocated period, you’ll need to check for any signs of redness, itchiness or swelling.”
“However, you can do a simplified version of a patch test at home.”

If you want to do a patch test at home, here are five simple steps:
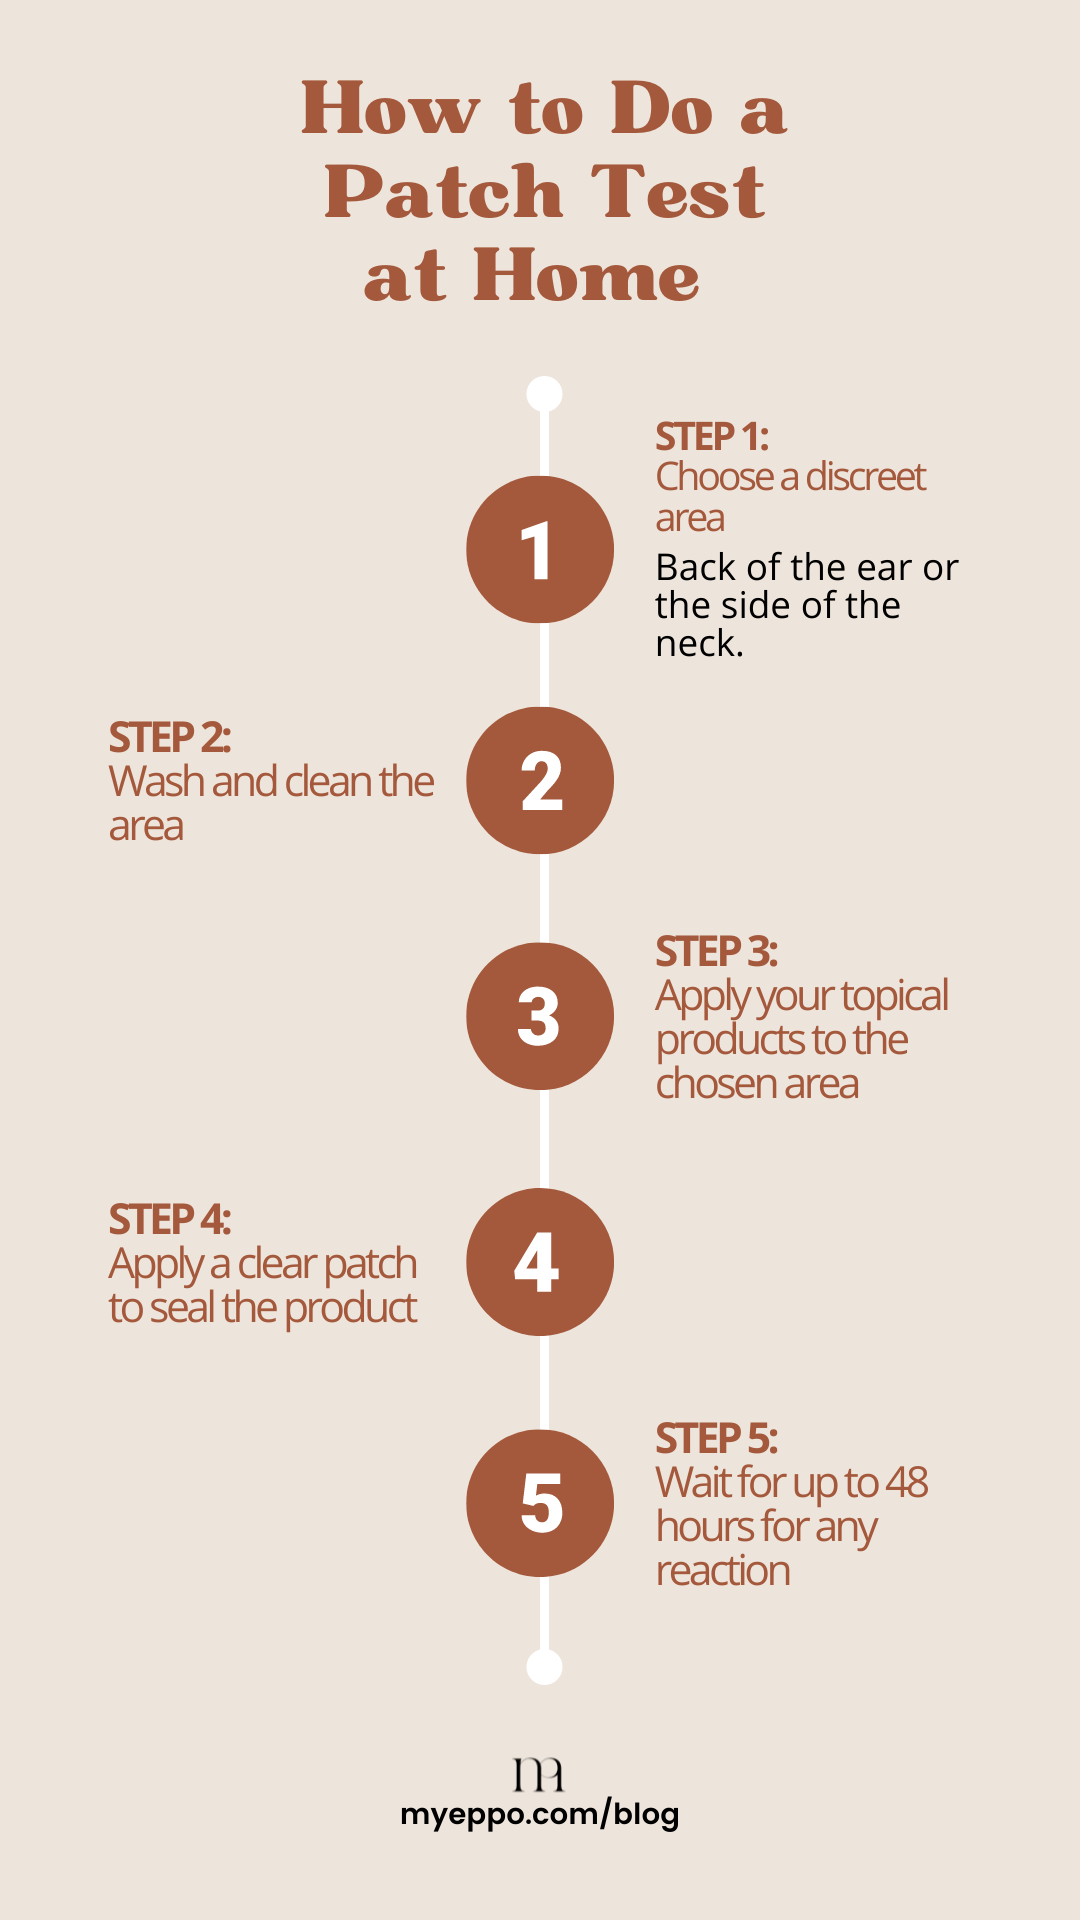
- Choose a discreet area
Dr Ingky suggests that the back of the ear or the side of the neck as excellent places to do a patch test. These spots are easy to conceal from the public if any skin irritation occurs, and they are not very hairy which can affect the adhesion of the patch. You may also get accurate allergic results since it’s already near your face area.
- Wash and clean the area
Once you’ve chosen your spot, clean the area with your regular cleanser. This is to prevent the likelihood of false-positive results that may occur because of the oil and dirt on your skin, rather than the product itself.
- Apply your topical products to the chosen area
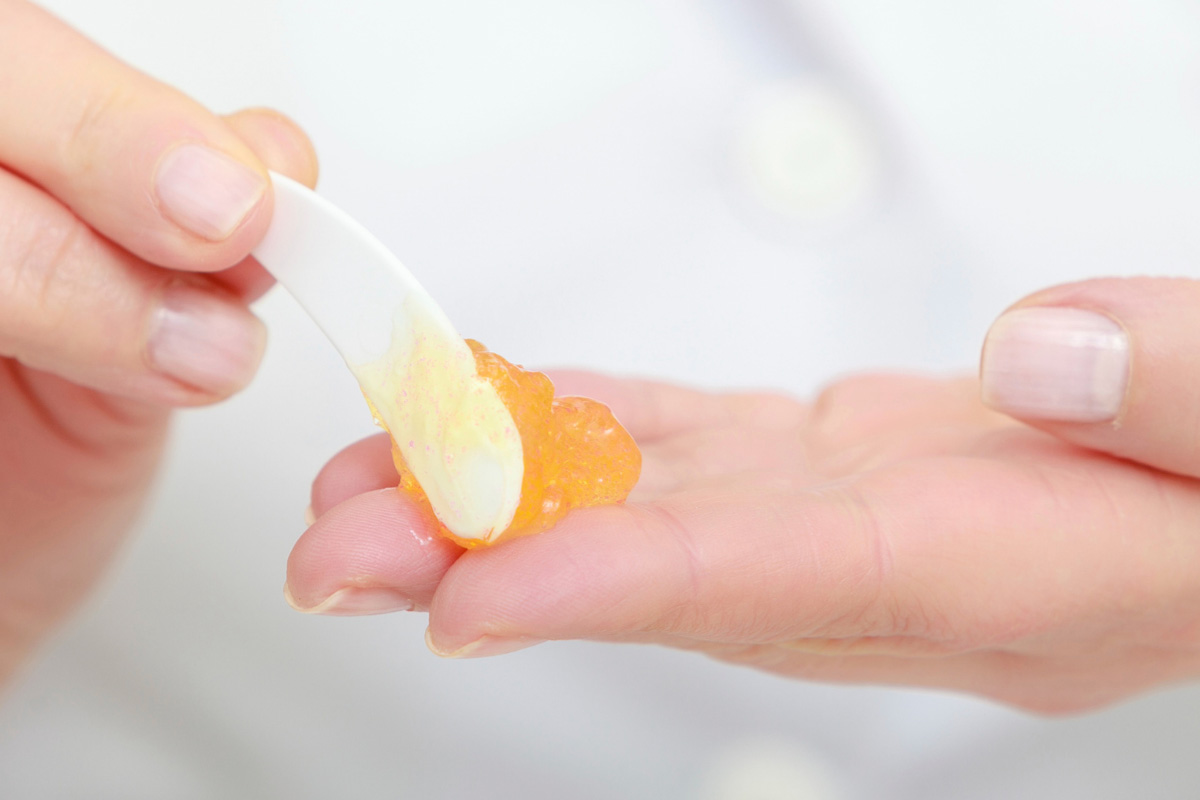
Time to apply your product! A thin, dime-size amount is sufficient. Or if the product has a more watery texture, one or two drops should do it! Some brands even have their own patch testing guide which specifies the right amount to use for patch testing their products (such as this one from The Ordinary).
- Apply a clear patch to seal the product
Choose a clear band-aid and apply it directly on top of the product. If you sweat a lot, adhesive tape can also work. Do your best to keep the area dry so that the band-aid or adhesive does not fall off.
If the patches do come off, you do not reapply the product. Instead, wash and clean the area again and start with a new patch.
- Wait for up to 48 hours
After 24 to 48 hours, peel off the tape and observe any reactions. Reactions can include redness, itchiness, dry skin or similar.
Why do patch tests take so long? Well, it’s like asking your skin’s immune system whether your skin is allergic to a particular substance. Sometimes your skin doesn’t provide an immediate reaction. That’s why you need to give time for your skin to react to it.
However, if you experience a severe negative reaction (like hives, blistering, burning or itching) remove the patch and wash off the product right away!
Bad Signs to Look Out For
In very severe cases, you may experience blisters, burning, blistering or even hives. If so, remove the patch immediately and wash and clean the area immediately!
Otherwise, after a maximum of 48 hours, remove the band-aid and look out for any redness. It should fade after a while, but if your skin still gives a reaction, then you may have a mild allergy.
“Stop using the skincare or cosmetic products as soon as possible. In serious cases, you might require a steroid cream which you can get from your nearest doctor,” say Dr Ingky.
Some of the signs that you should stop using the products are when your skin looks red and feels itchiness and swelling. These symptoms may worsen if you continue to use the product, so it would be best to find something different.
The Importance of Patch Testing
You should do a patch test whenever you want to change skincare brands or try new or intensive ingredients.
In general, patch testing is encouraged to avoid the potential of a severe allergic reaction. But is there any other reasons why people should do a patch test?
Dr Ingky explains: “Another reason is to avoid severe acne breakouts. Some ingredients like Retinol or Vitamin C can cause severe acne breakouts in some cases. So, by using a patch test, one can avoid a breakout if the ingredients are not suitable for one’s skin.”
Know Your Skin Type First!
One of the key causes of allergic or negative reactions is using the wrong skincare products for your skin type. Therefore it is important to know your skin type before you purchase a skincare product, so you don’t waste a ton of money on something that you may be allergic to.
The myeppo skin quiz uses a proprietary algorithm that determines your skin type and recommends products that will work. Just answer a few quick questions, and get a skin care routine personalised just for your unique skin. Click here to give it a try!


